

Light weight road track

so finally, I am starting the next update of the Whispering Pines Thunderdome which will hopefully increase its length from 37 feet to somewhere around 60 feet. It will be two lane at the start quickly switching to crash racer track. I also plan to use a fair bit of coroplast on the longer straightaways. I like to throw in the section in track that I can pull out to put a jump in or put back to just have a straight through piece. We'll see how it develops.
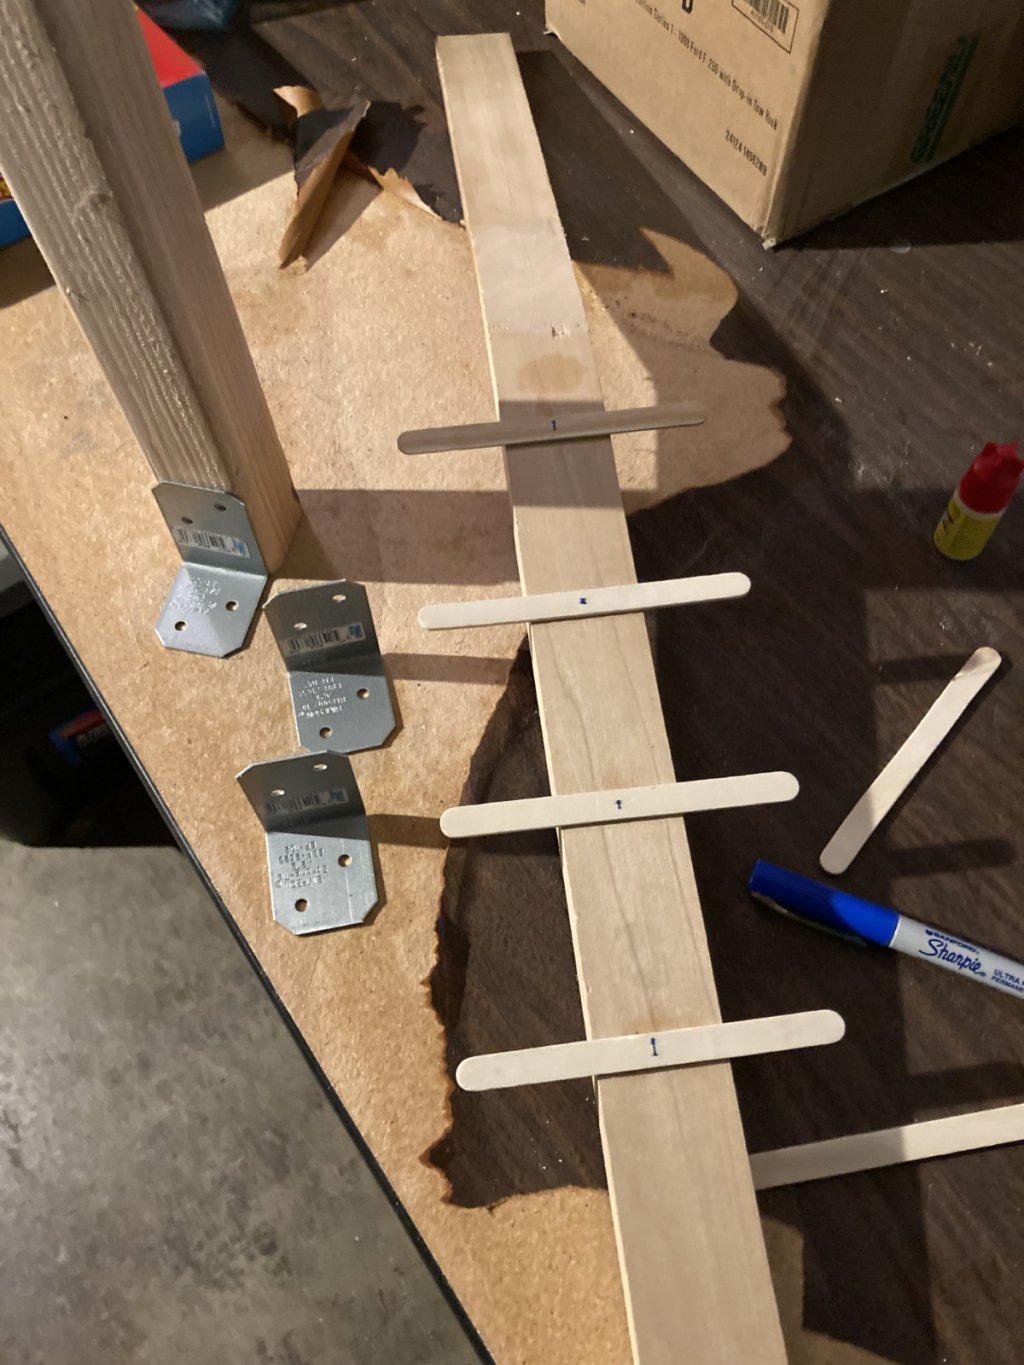
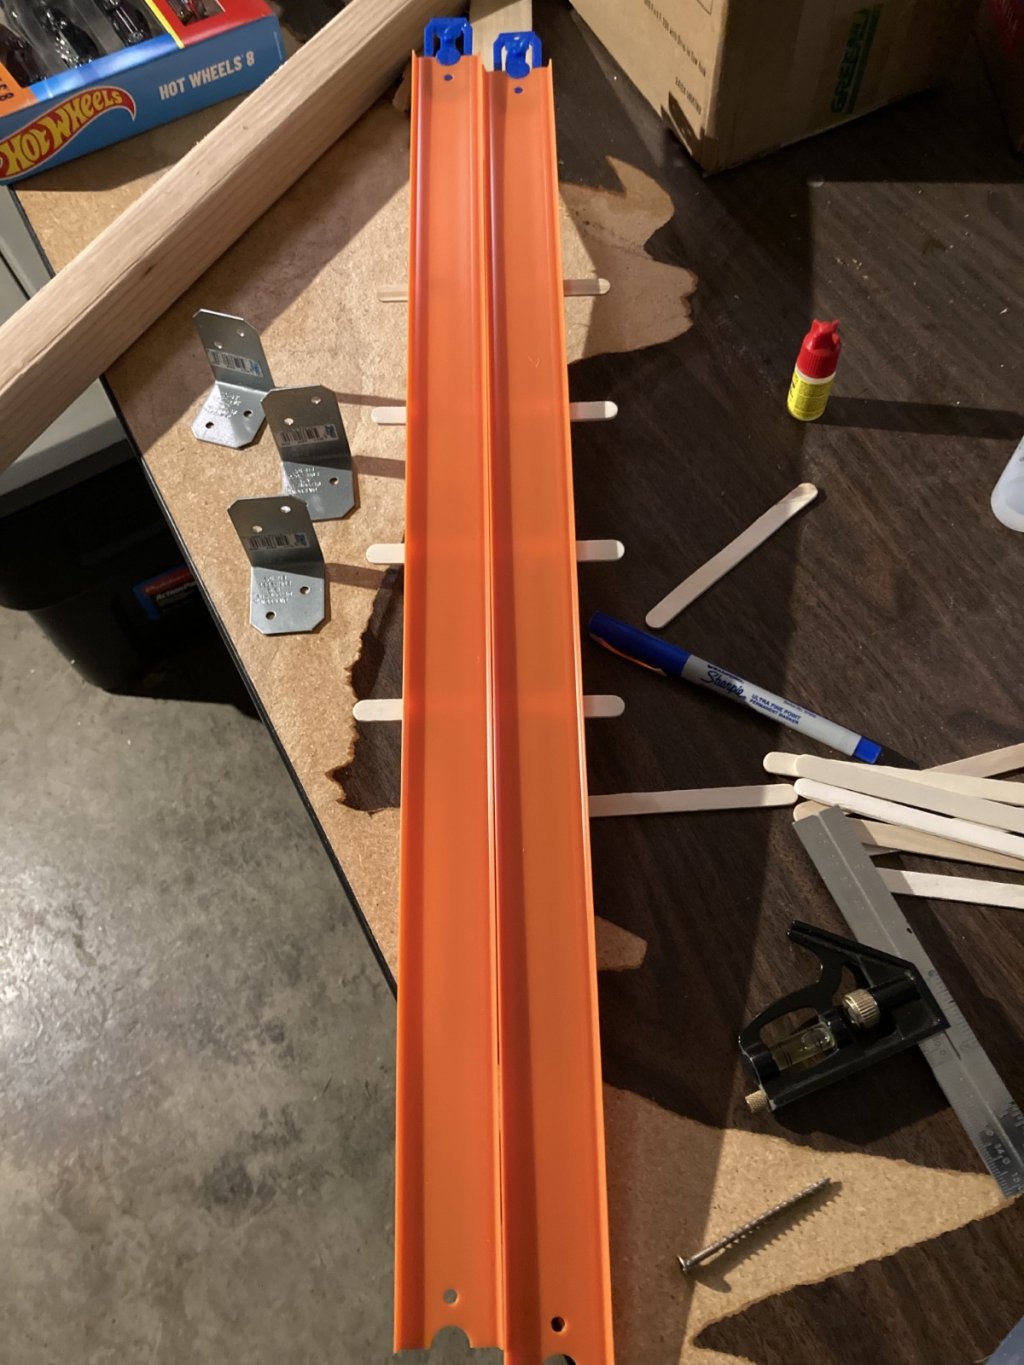
one thing I do wanna do is make this a fairly lightweight installation. I'm planning on using two by twos attached to the base with steel brackets and they will support a 1 by two that will act as the spine of the track and it will have popsicle sticks super glued to it acting or at least looking like the ribs. Has anyone tried something like this before?
one thing I like about this is I could pre-drill a bunch of these popsicle sticks to accept the 1/64 scale street lights bases I have. The two by twos used to hold up the one by twos in a general. Most of this structure will be painted either flat black or dark gray.
Discussion
Doll house wiring tape - brilliant

As I was evaluating ideas for the underneath of my tracks, I thought of electrical raceways for conduit. I just happened to find 6' sticks of 1-1/2" raceways for like 20 cents a foot or some rediculous amount. It was a clearance sale to flush their inventory. I bought all 11 sticks for a total of 66' (6' Sticks). I think I paid about $10 or so. I though of a two lane (33' each side) super drag strip using these sticks. Something that I can run outside down my driveway for a special event or something in the summer.
Just random things I ran across and figured for the $10 or so, I would throw it in the old garage in it's box for a future date. It was going to be my undercarriage for my track, but I am really leaning on saving it as it's own track only because these are 6' sticks with no connectors needed until every 6 feet. And the lane width and wall are about the same as a Hot Wheels track when put up against it.
BTW, the bottoms of these sticks have double backed tape attached, so they should go nice and easy on some form of 1"x4" with detachable sticks using hinges or slide grooves of some sort. Lots and lots of ideas, will choose something one day; but for now, figured it was a good deal.
There are 2" and 2-1/2" similiar on sale, but they don't have the double back tape, and you would need a 3-d printed lane connection to go from whatever you have to that size, but it does sound interesting if you are making yours out of coroplast; should you look for this type of stuff near you in the 3" wide or whatever it is you use.
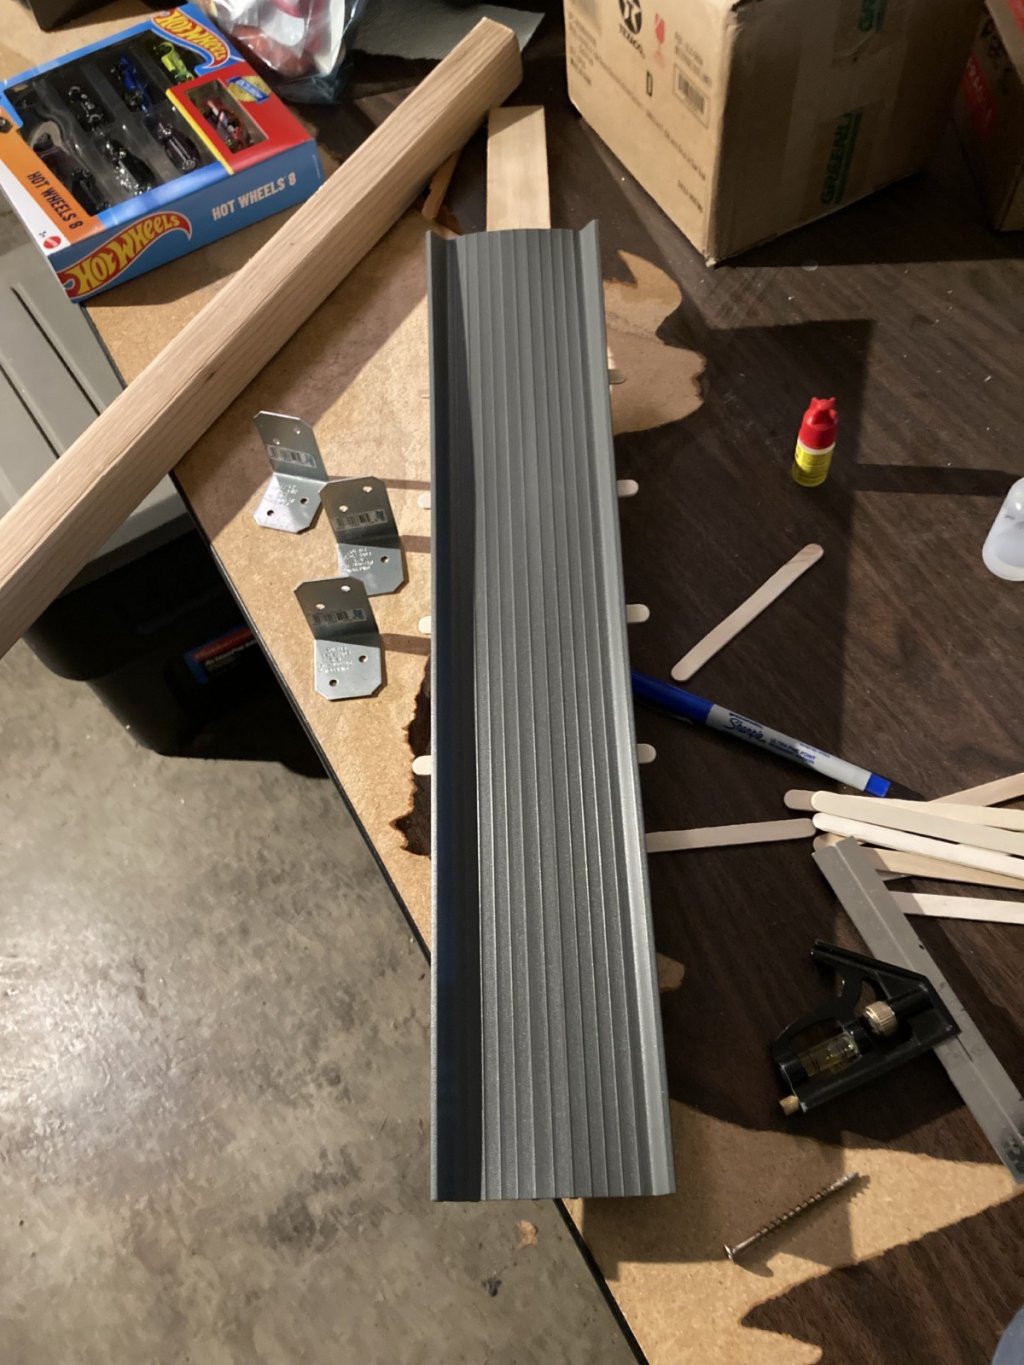
Well after a little fiddling around with popsicle, sticks and superglue, and two by twos and one by twos and two by threes… I finally came up with the simplest and most solid approach for what I was trying to do. And that will be two by threes as vertical mounts That will hold shelving and track pieces. And then using one by twos stringers between points and then putting popsicle sticks on top of the one by twos. I really wanted to try and save a little money on wood and also not have a ton of weight on this table Which is the base of my track.
The table is just about 7 feet long and just under 3 1/2 feet wide in the track that you will see below I have measured and it is just a little over 50 feet. Previous track that was on a 2' x 4' piece of plywood Was 37 feet. This track in composition is very similar to my previous track, but of course the table allows me to stretch the straightaways out and the goal here is to have lots of areas for passing and for handling four cars or six cars. So below I'll have a number of photos showing the construction and a video overview and I believe a quick race of four cars down the down the track which is still doping cars off here and there as it needs to be tuned. And finally I was able to keep the track to be strictly built with too many orange track and crash racers from two packs of track. At this point in time I did not use any coroplast. Shortly I'll upload a video that kinda gives a walk-through of the various parts of the track. But I have a lot of stuff to transfer over from electronics and Arduino's and LED lights. I see at least another week to 10 days.
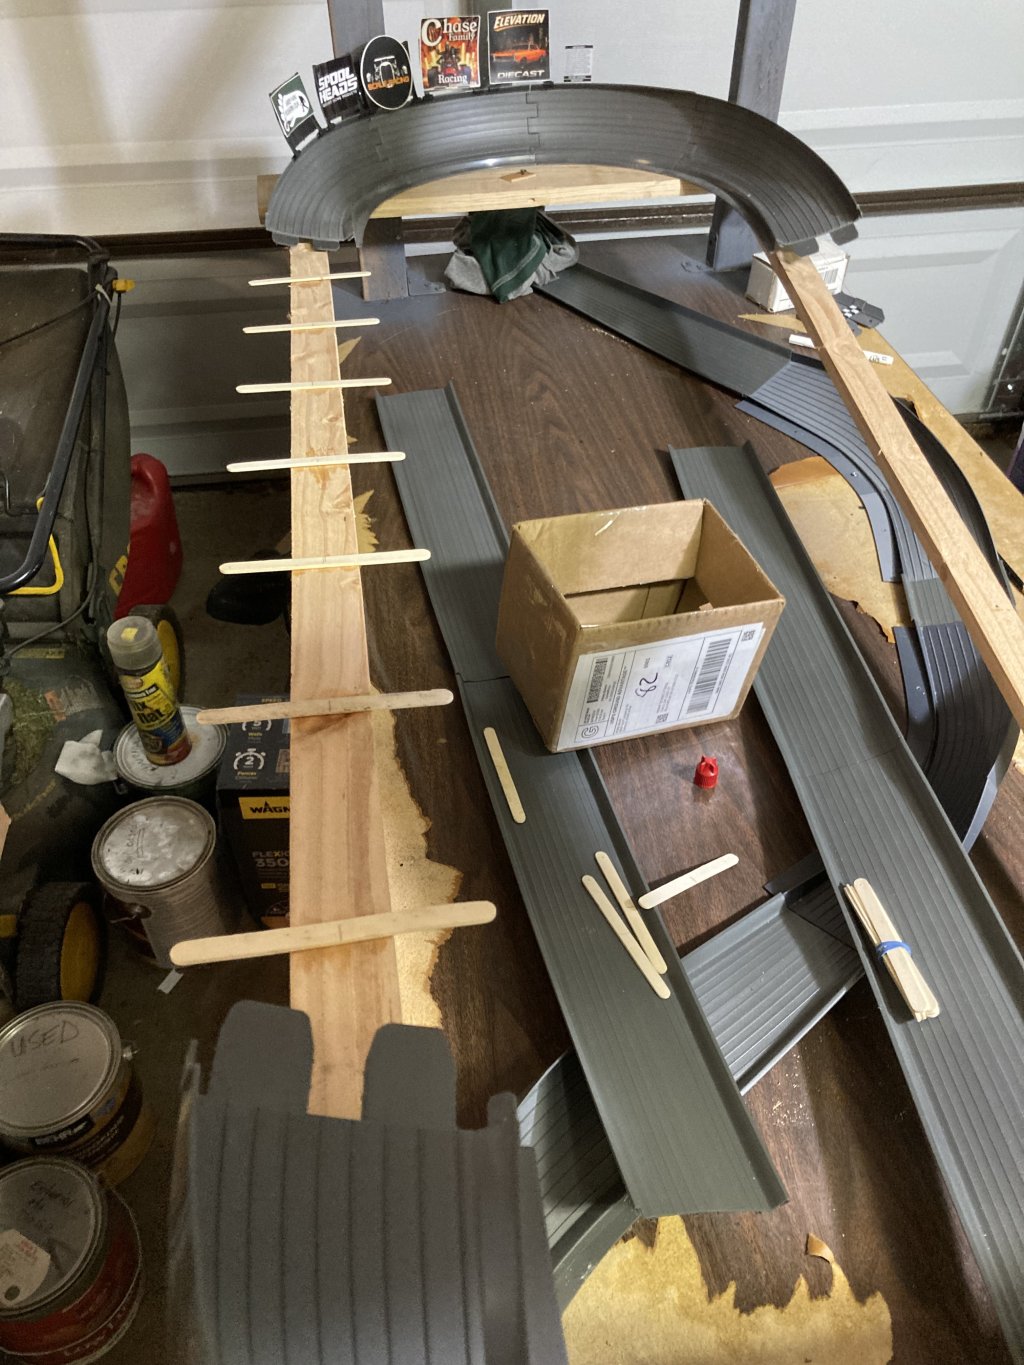
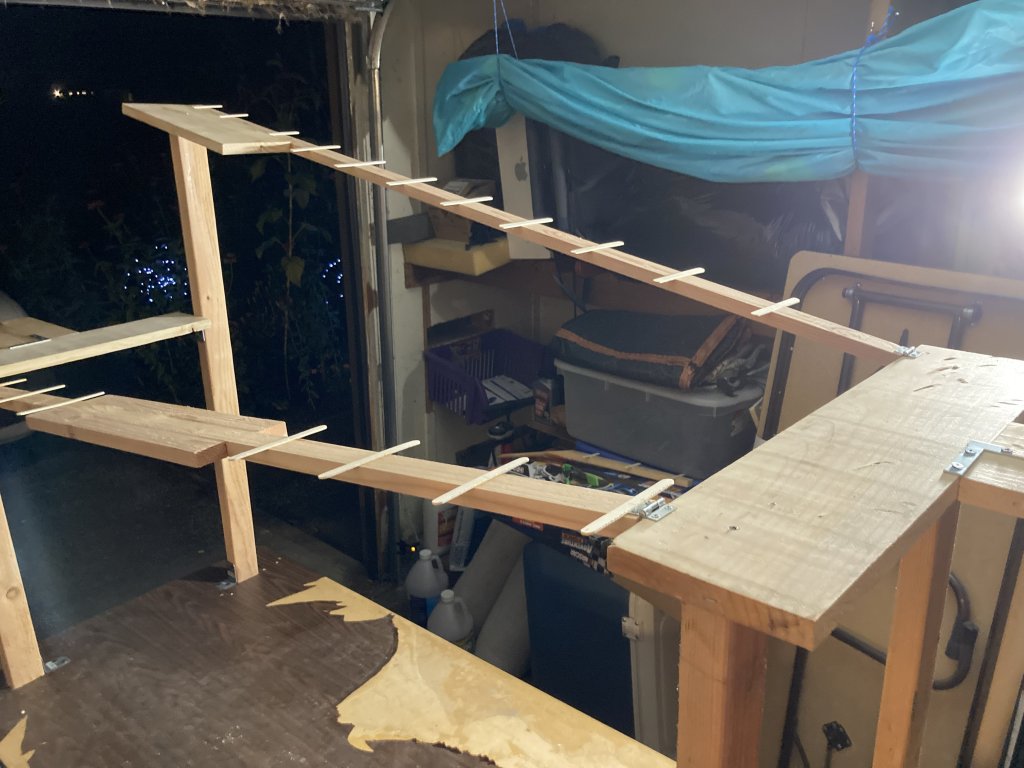
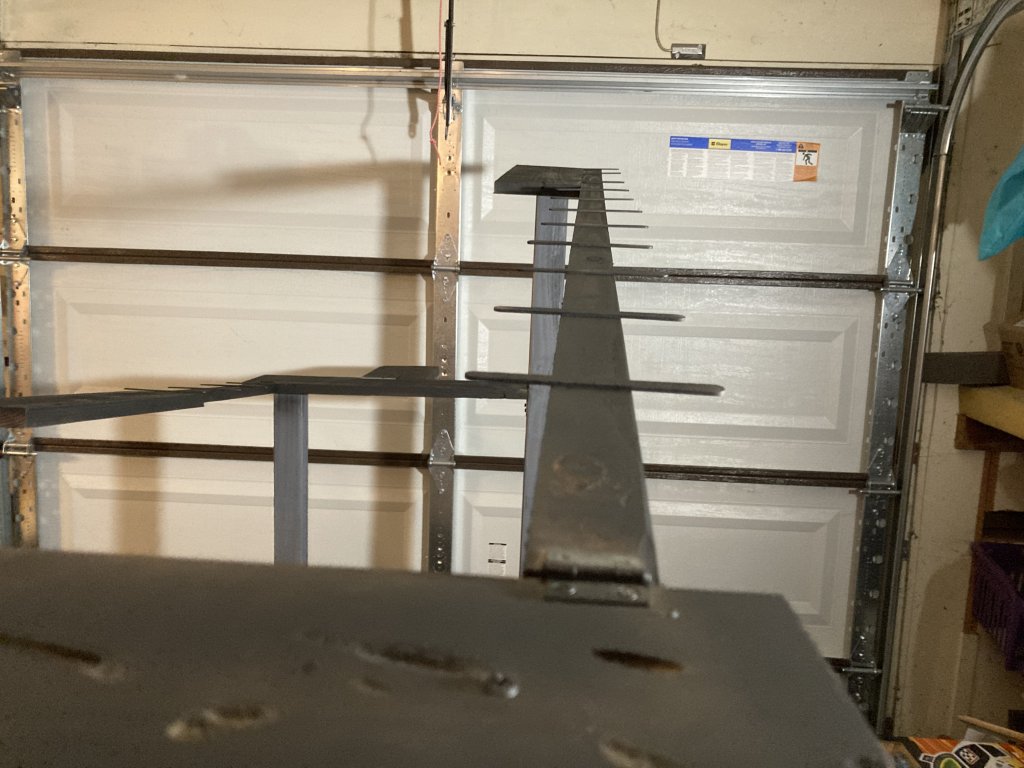
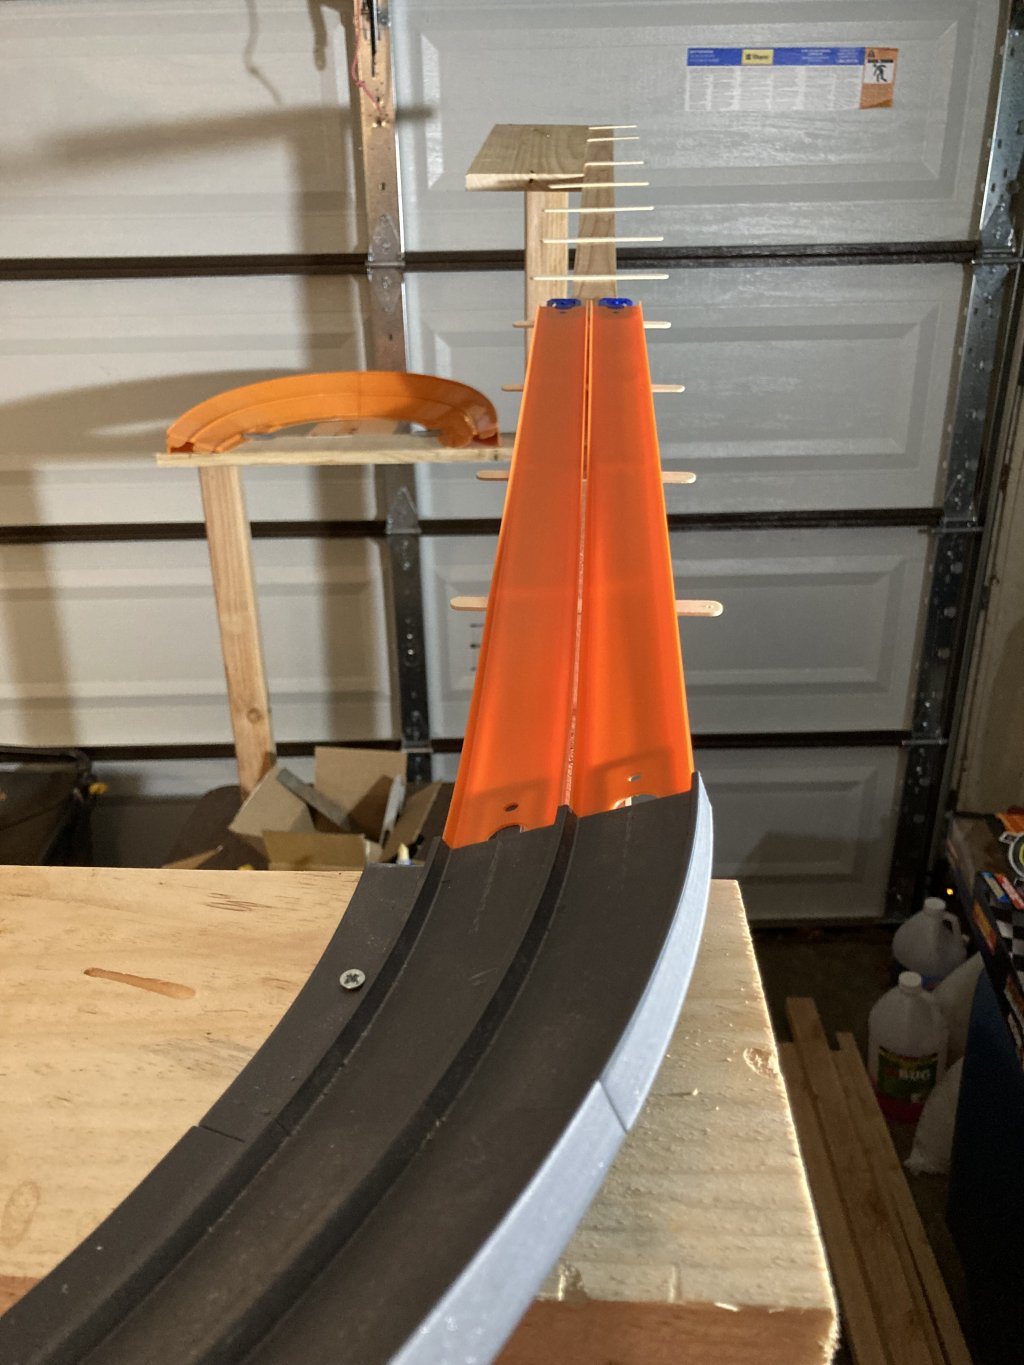
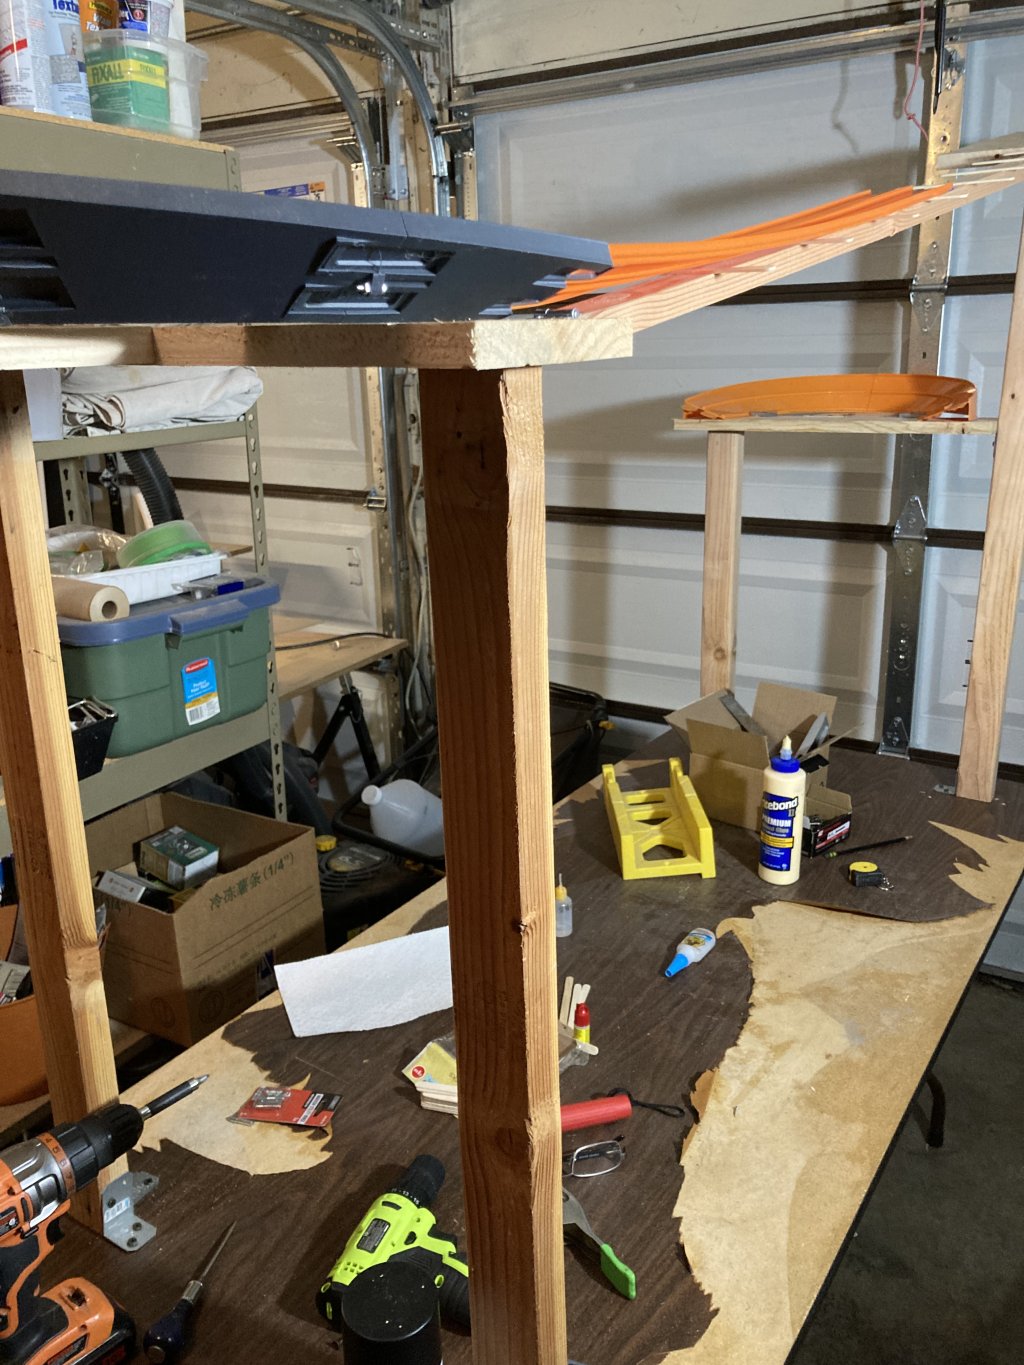
Your pictures are a helpful understanding of the popcicle stick placement, I like that. At first glance I didn't get why they were sideways, now in the pictures and reviewing it, I can see how they could be useful for support and keeping the weight down.
Here is the first video update after days of tuning and cars crashing and falling to the table top or off onto the garage floor. These test cars took a solid beating. Now its time to run some fast modified cars down the Thunderdome. More to come.
Here is another update after doing a little clean up spruce up. Next is to brig the LED arrays over and lite the place up - stay tuned
Couple more posts regarding the new track and in this video I'll show some of the cars to be used for pick your ride races. In most cases the prizes are premium cars
So here is a final post on this thread - let me know your thoughts or reaction to the possible new addition to the track ---- The race to the bottom of the barrels.
I like the idea of the ending area. My plans have one too and it is called the TRE Funzone! IE: You make it through the whole course, you end up in the bonus area for scoring points.
Your idea to have another set of timers at the bottom of the first long strip is good. It sets the tone of separate areas of the track. My goal is to have something similar so you can have cars that maybe good at the drag, but not in the course, and visa-versa? Then again, you might get cars built to be able to handle both conditions well and be track champs.
I think you are coming along great and it looks like you have a lot of thought into it. When you start testing cars on it, you will know if the design works as you intend.
This will be the final post on this thread just sharing some final details and thoughts and as soon as I get my start gate for the tour to crash, we'll open up some for some races. Woo-hoo. And I also need to move a ton os stuff off my iPad to make room for processing video. Joy
- Looking good! — Chipped_Paint_Racing
- Good luck, all the best from downunder! — CutRock_R_Marc_D
Just a brief comment that hopefully may help those who are building a track or having some issues on their track. I've used a lot of dollar store orange track. It's affordable. It's easy to use and the segments are along. Without going into details, I'll just say on my previous track and on my new track I was having a lot of issues Where part of the track hardware switches to a high wall. And no matter how I set it up cars would occasionally hit that high wall were intersected with the low wall of the dollar store track. I had to go round and round. I finally decided to try standard hot wheels track sections, which seem to be a little heavier in construction, and the side rails are a little taller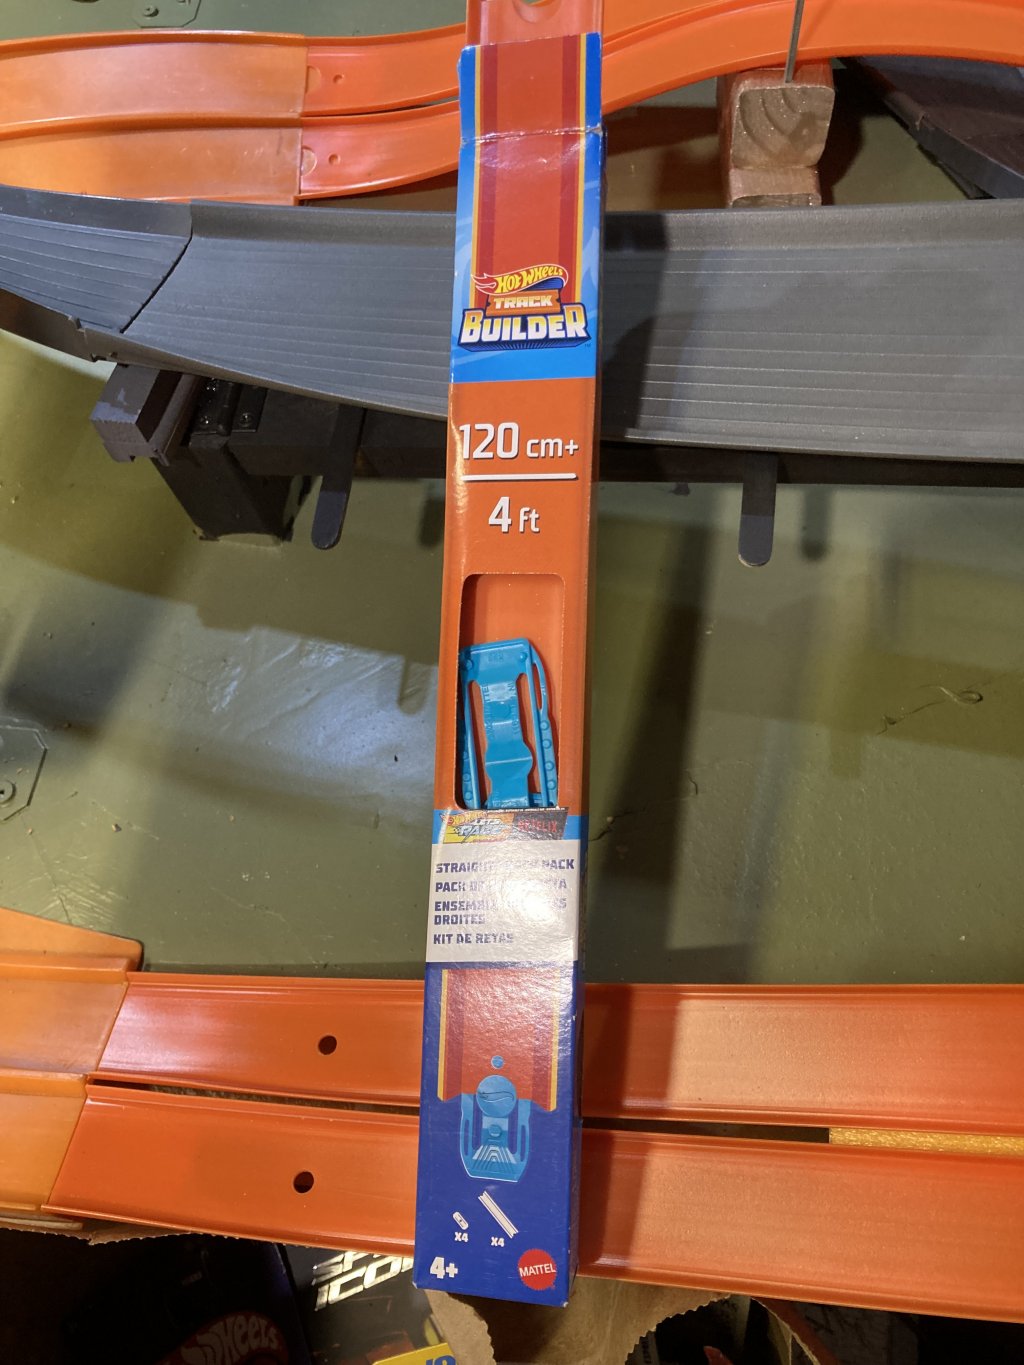 than dollar store. And my problems instantly stopped. So sometimes it pays to go OEM FYI,
I like the idea. I have built similar for a slot car setup. the wood splits easy so pre drill,
 copper brad thru it.
or use an air finish nailer
you could run 2 strips of copper tape under the spine for light power
(doll house tape lighting style wiring)
you stick the tape down, and run a screw or
dr