

Build Journal: Slanman Customs Track Build #1

Building a Slanman track has never been easier! It all starts with an idea and a couple pieces of wood.
Required Materials:
- 1 - sheet of plywood
- 10 - 2x4s *MUST BE AS STRAIGHT AS POSSIBLE*
- ~25 3-inch screws to build framing
- ~20 2-inch screws to attach plywood
- Lots of 1 1/2 inch drywall screws for printed support pieces
 Yes I know there is 2 sheets of plywood there. I built 2 of these bases.
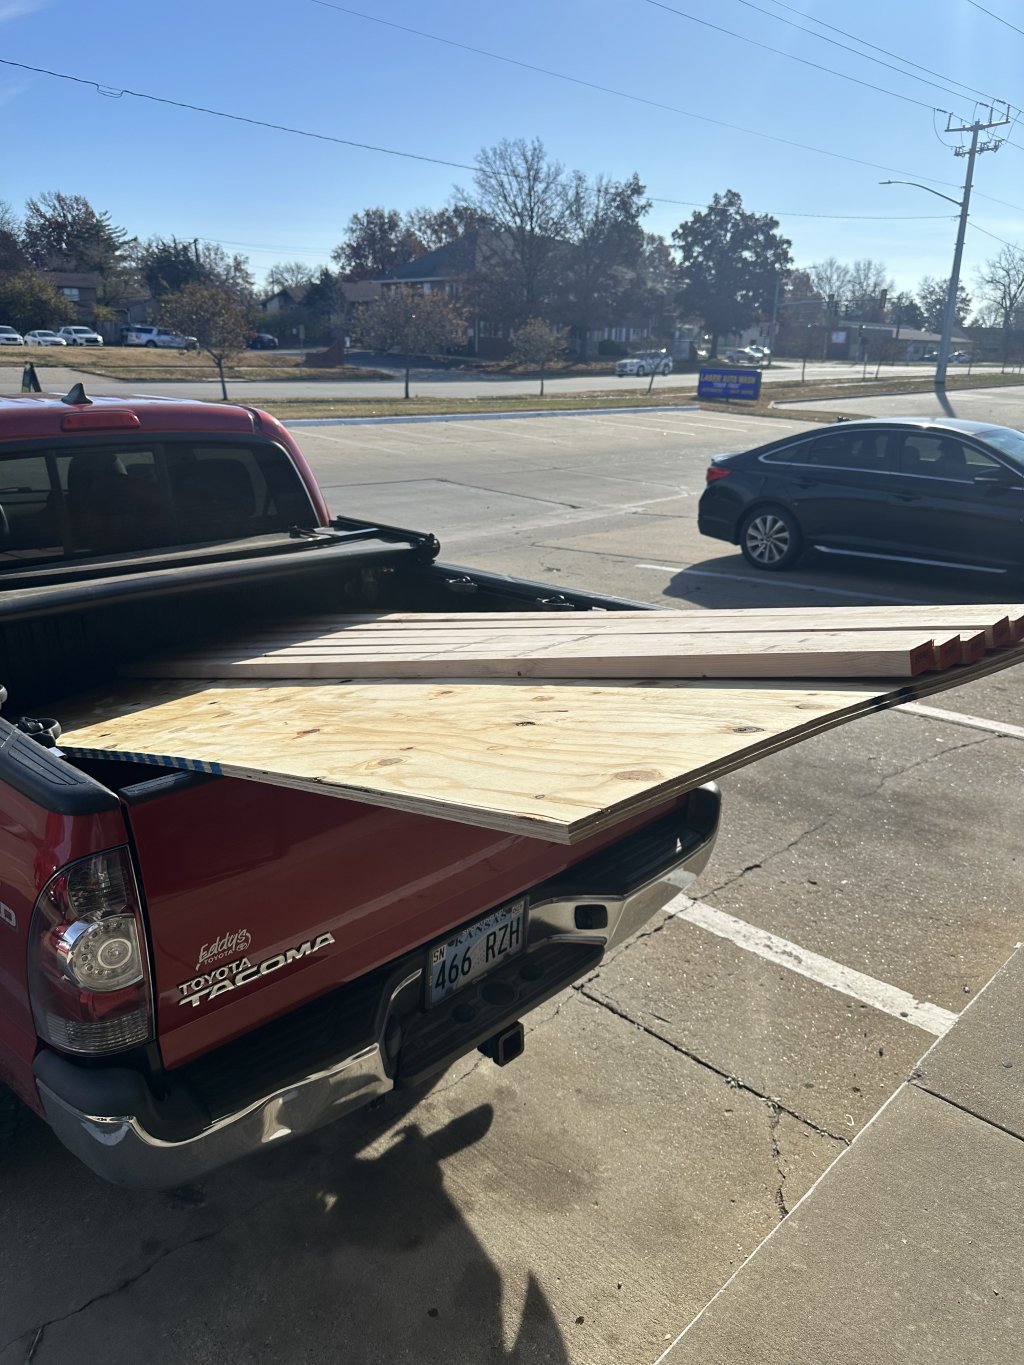 Yes I know there is 2 sheets of plywood there. I built 2 of these bases.
STEP 1 - BUILD THE BASE
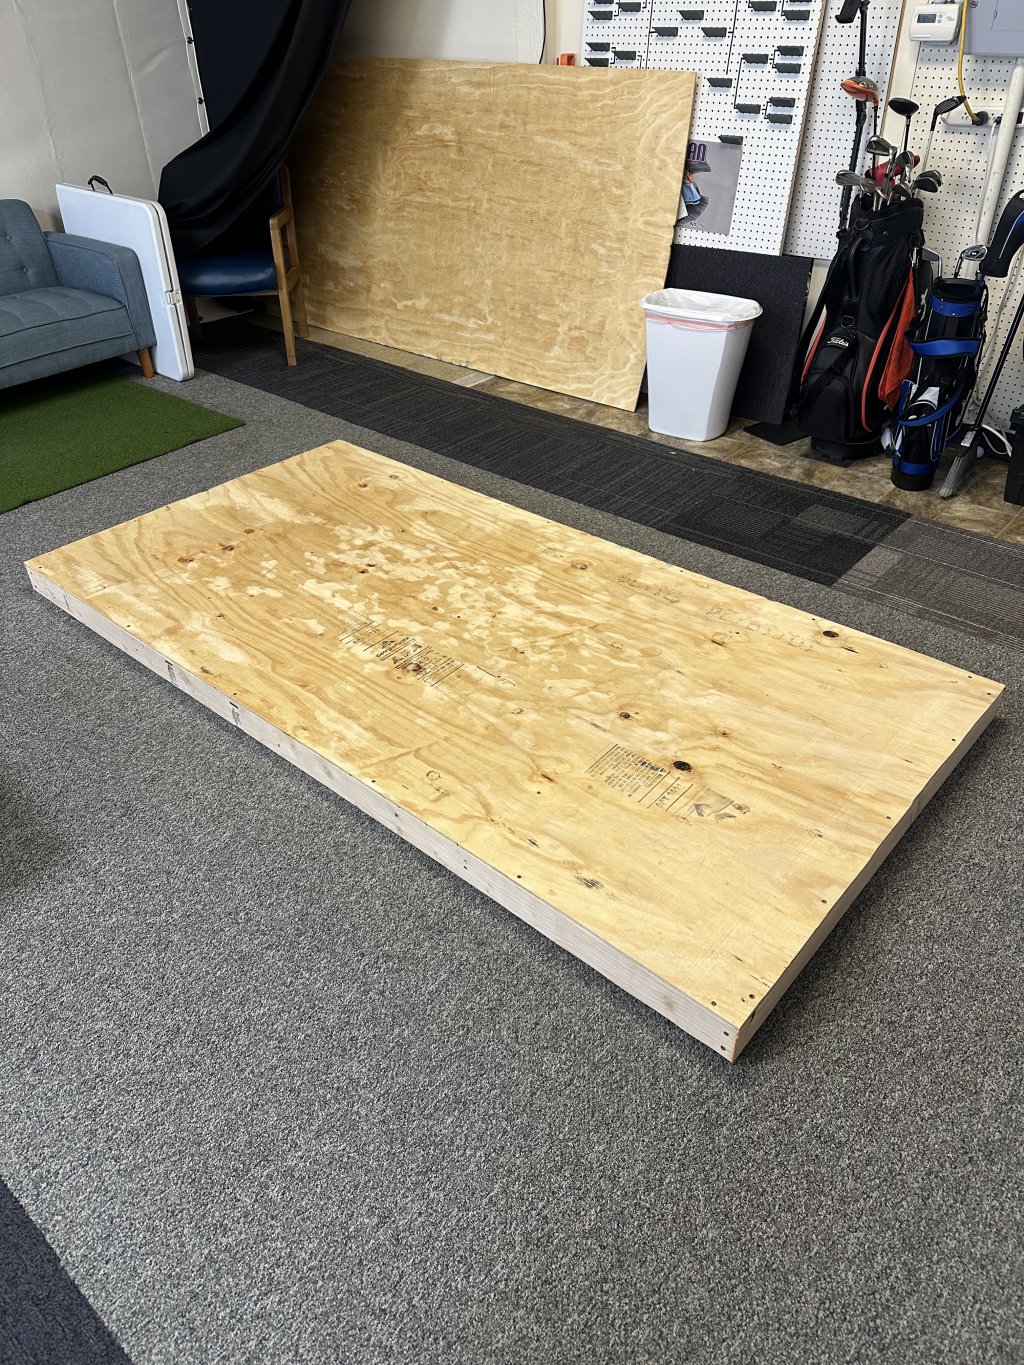
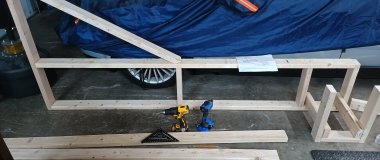
I build mine with sheets of plywood, so you'll make a basic frame for it to sit on top of. I find miter cuts make for easier building, but not necessary. 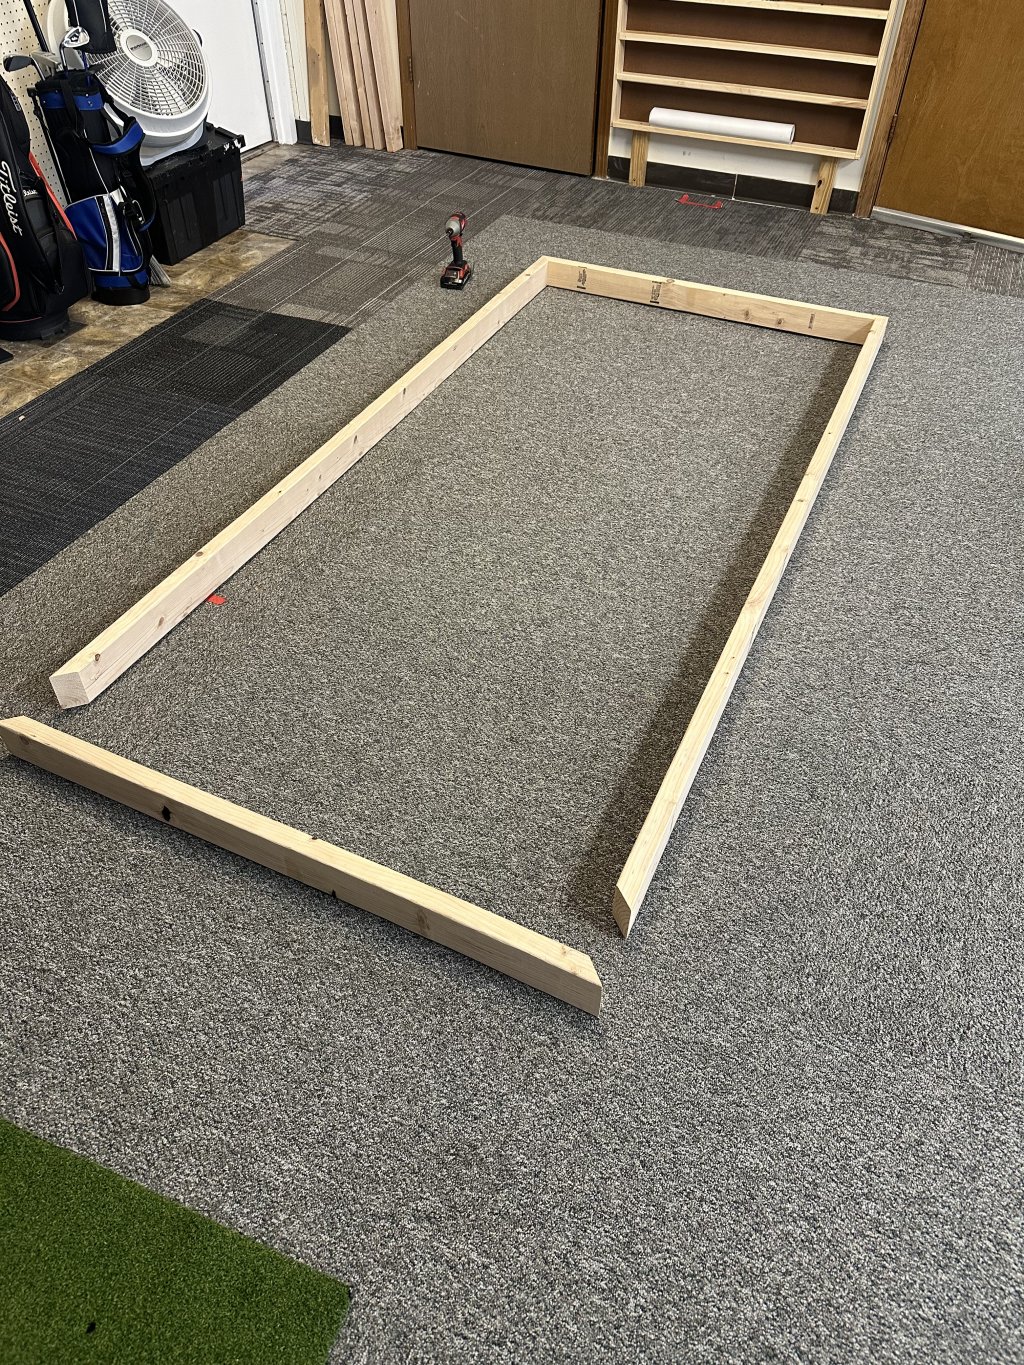
Once the outer frame is put together, add some support inside and then slap the plywood on top! You can add more support inside if you desire, but it may not be necessary. These bases are strong enough to walk on as well. 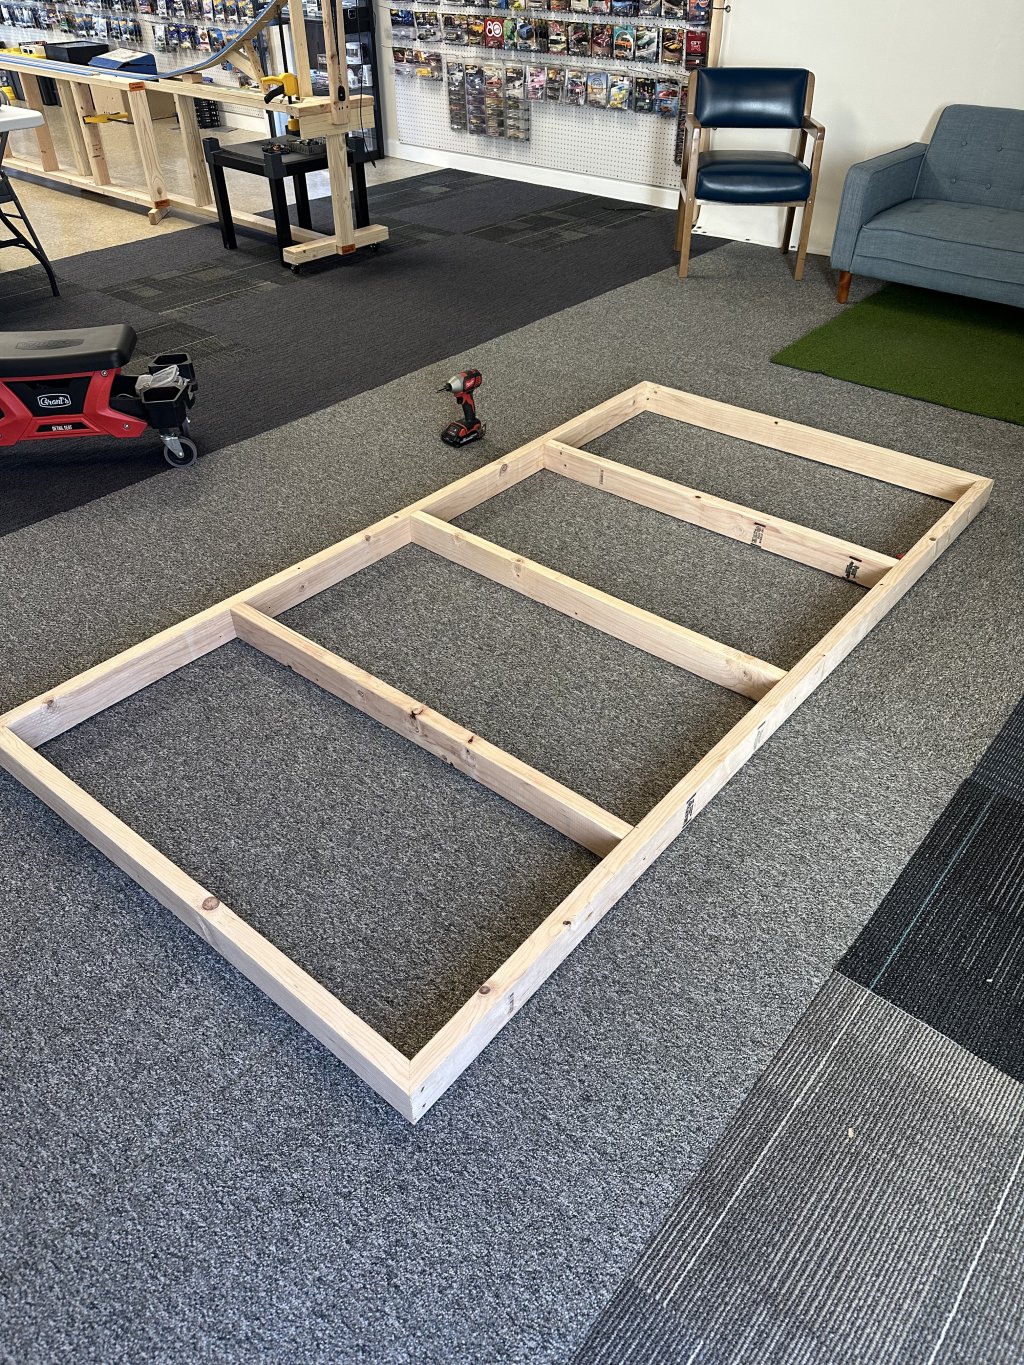
STEP 2 - SAFETY FIRST? SECOND?
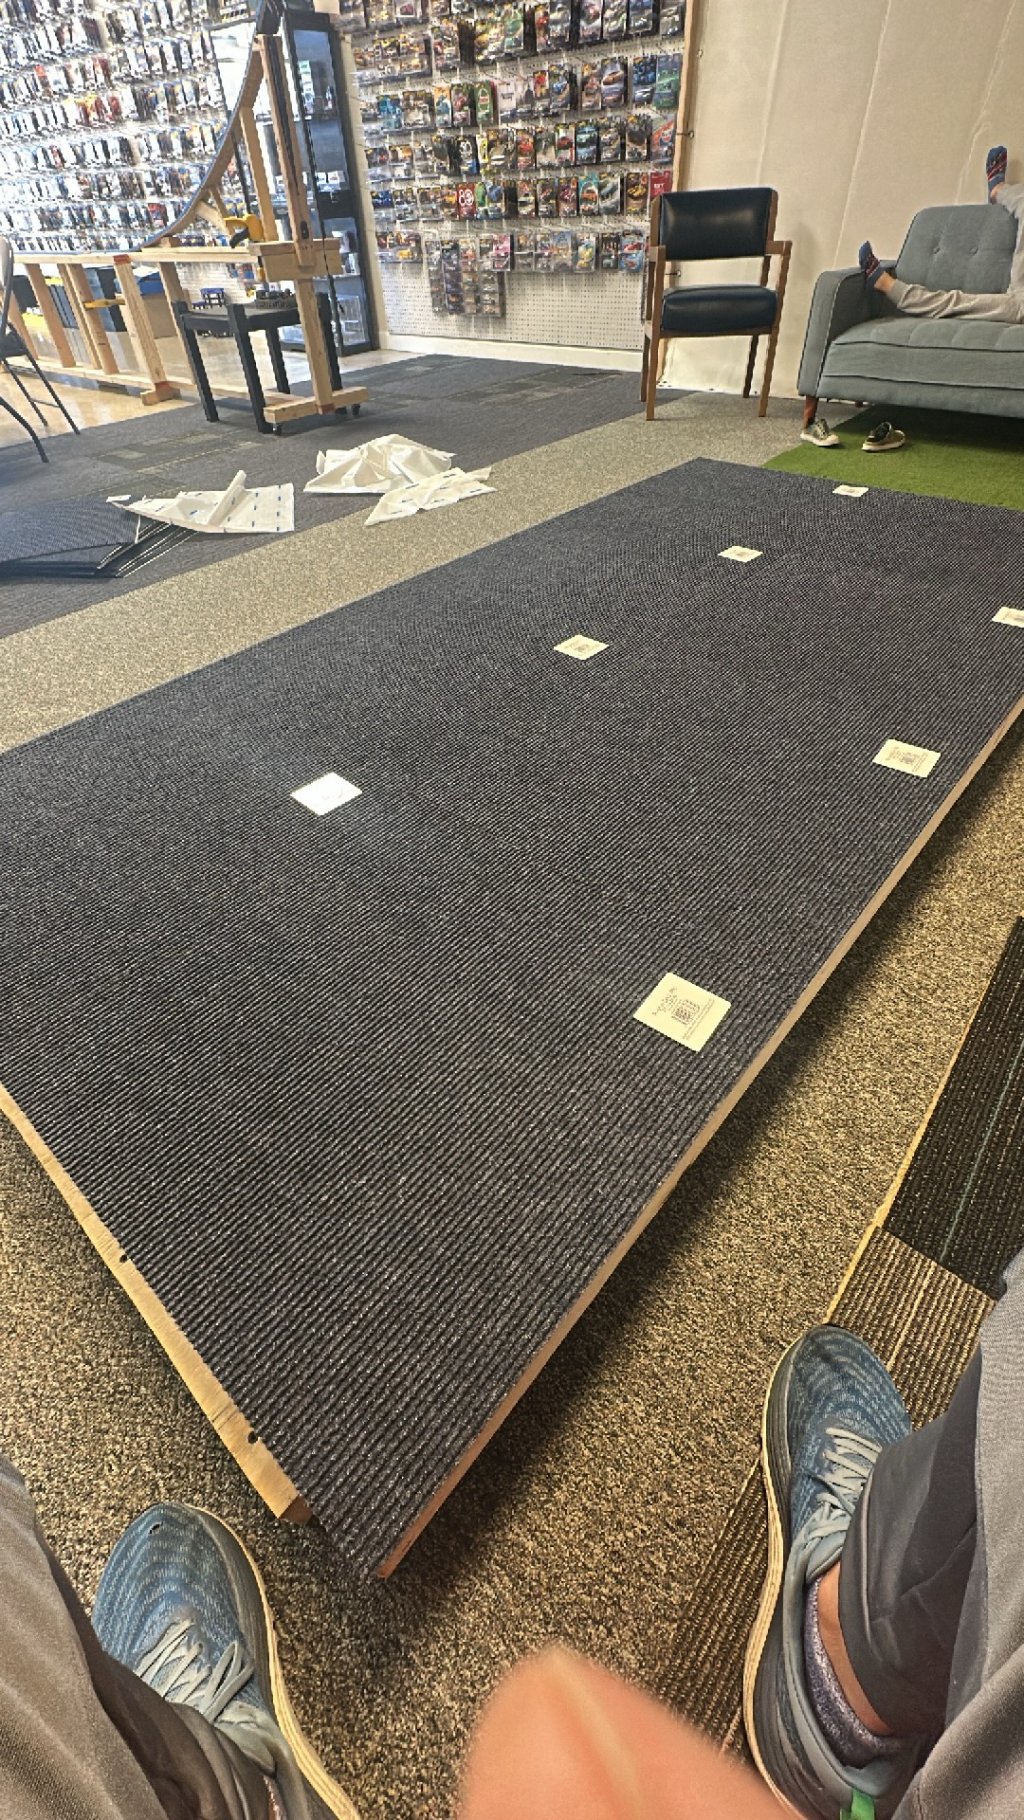
Bare wood is no fun to play on. To stay safe, we need to cover it up with something. I've used multiple different things in the past, from felt cloth to turf. I was at the store looking at getting a section of the cheapest carpet they had when I found these stick down carpet squares for $1.50 each. All it took was 8 to cover the top.
Congratulations! You now have the base needed for the rest of the magic to happen. Stay tuned for Part 2.
Discussion
step 4 - assembly
I like to start from the bottom and work my way up. This allows you to test the flow as you go. I keep the track put together in sections so I can easily lift them up. Get a tape measure, lift up the section of track a little bit and look to see if the slope looks acceptable. To me, this final turn before the straight looked good about 3 inches up. Cut a 3 inch piece of 2x4, put it in the printed base attachment, stick it under the track and then move on to the next section. 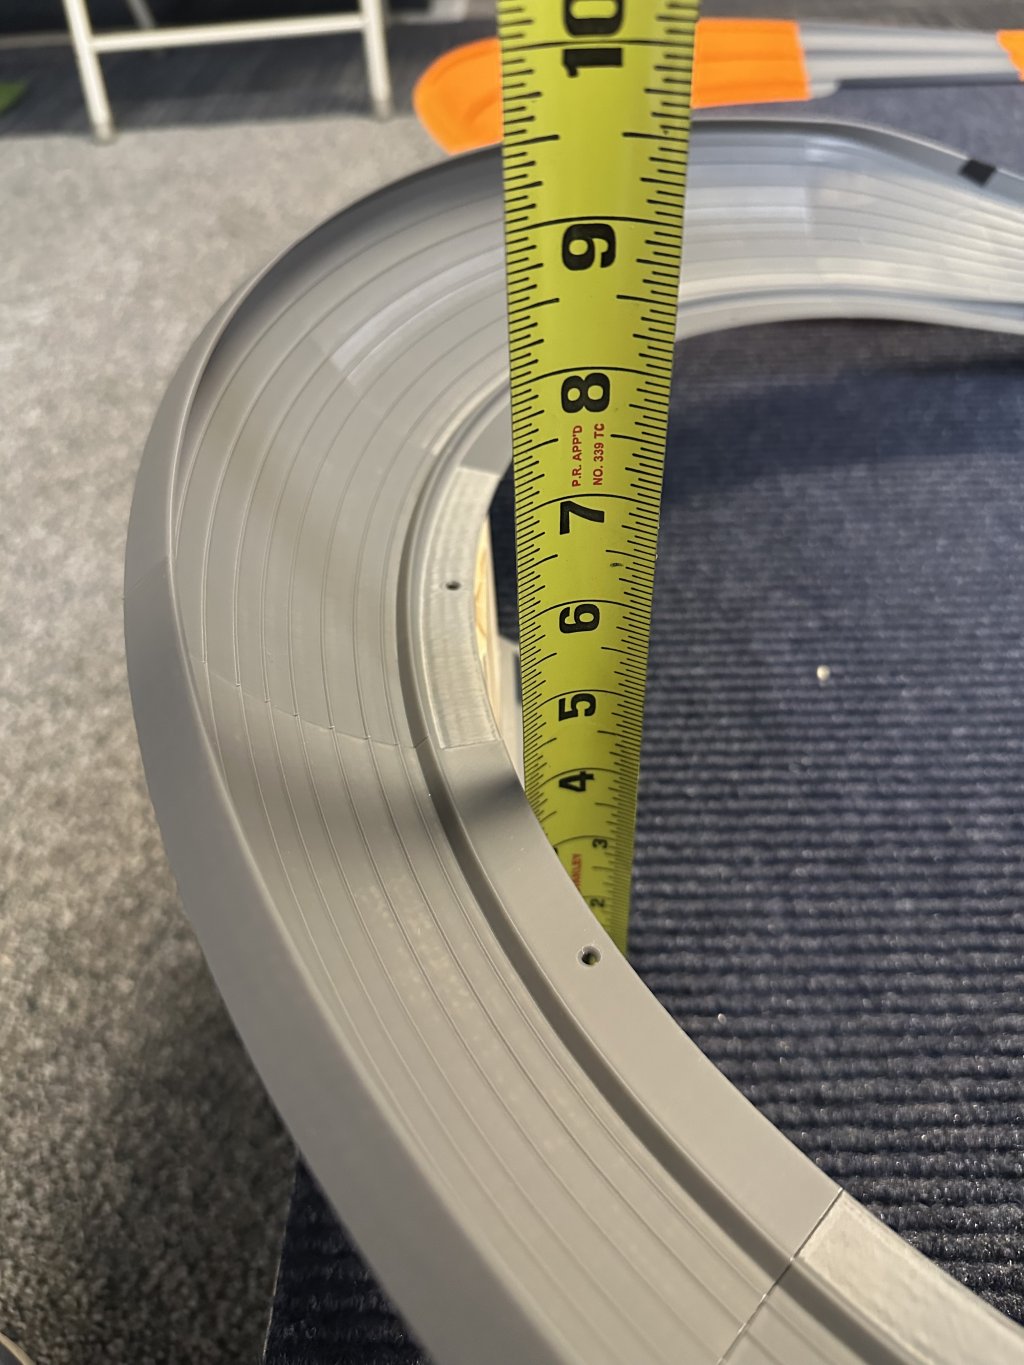
as a general rule of thumb, you want to be around 1 inch of track decline per foot of track length. Sometimes you may want a little more, sometimes you may want less. There are many factors that will determine this number. Keep working your way up the track, putting another leg every 2-3 feet. These don't have to be exact right now, as it can be adjusted later. We just need to get all of the track into the air so we can do the fine tuning. 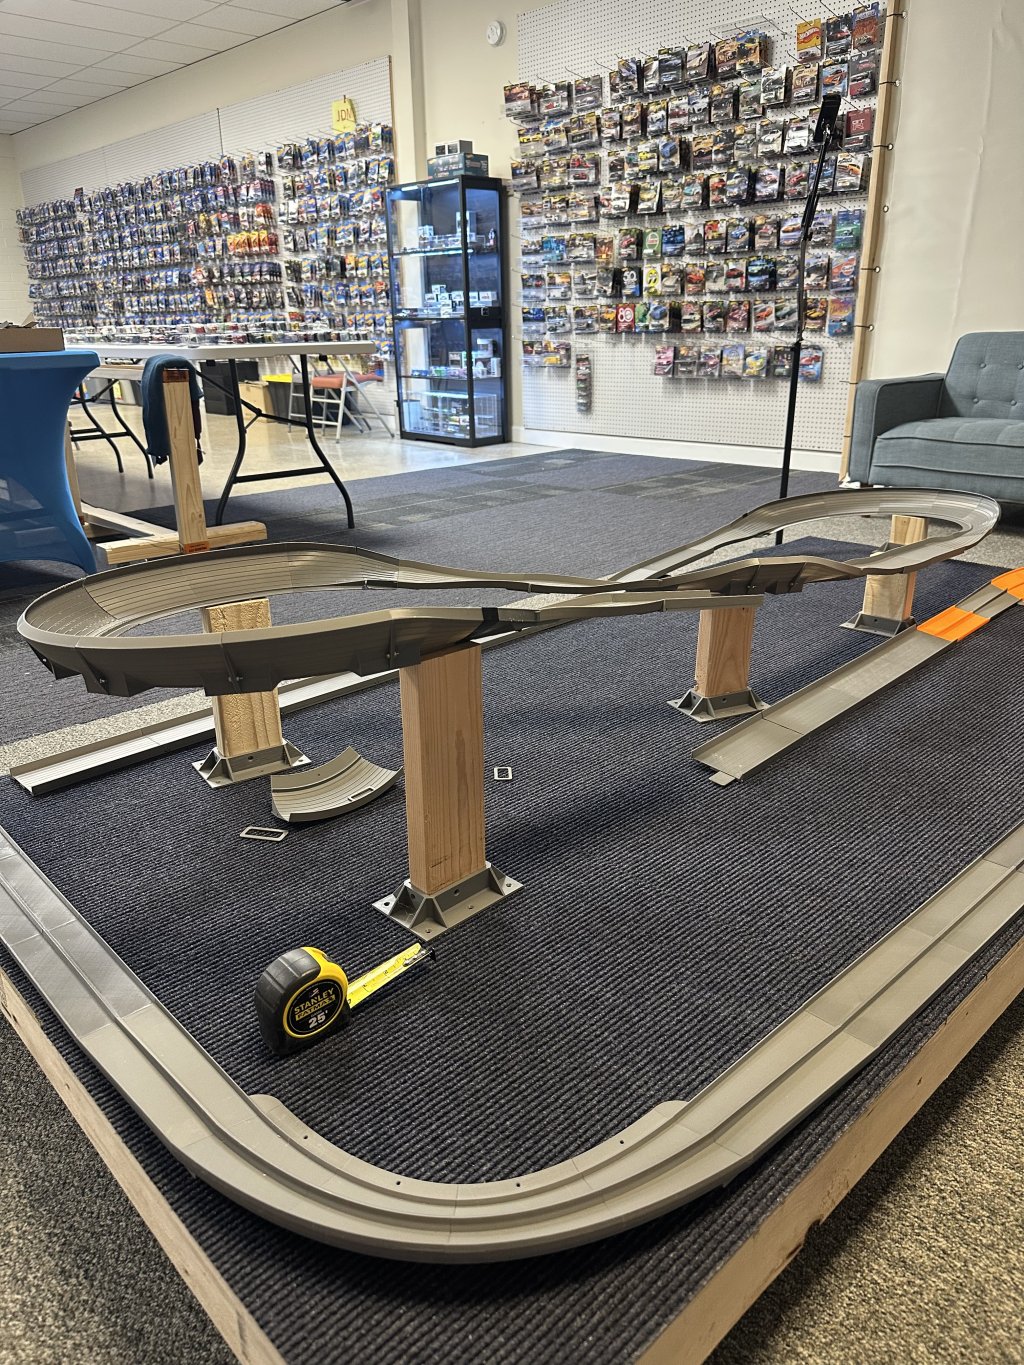
I would recommend putting a little screw in each curve to attach it to the pillar as you build up, but it is not required. I just have my track pieces sitting on top of the wood. Keep building your way up and make sure the slope looks good. You can even send cars down from where you are and make sure you are happy with the speed.
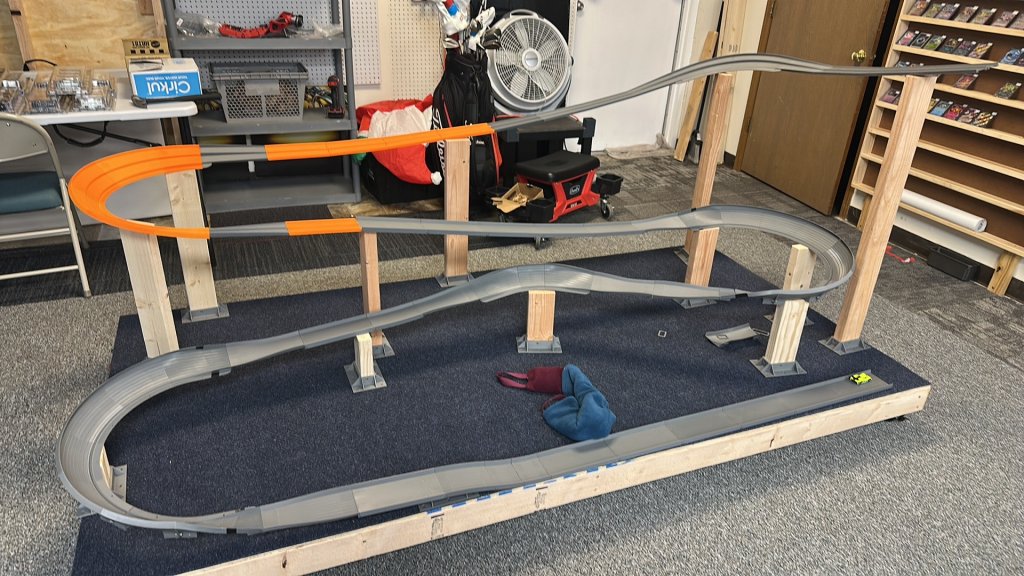
once you have everything in the air, take a step back and evaluate. This track starts with the small straight on the right side into a 90° curve. After looking and doing a few test runs, I decided those first two track pillars are too tall. All you have to do is pull those pieces off and cut them a little bit shorter. it is generally ok to build the pillars an inch or two shorter than you will need in the end. This can easily be adjusted in the next step.
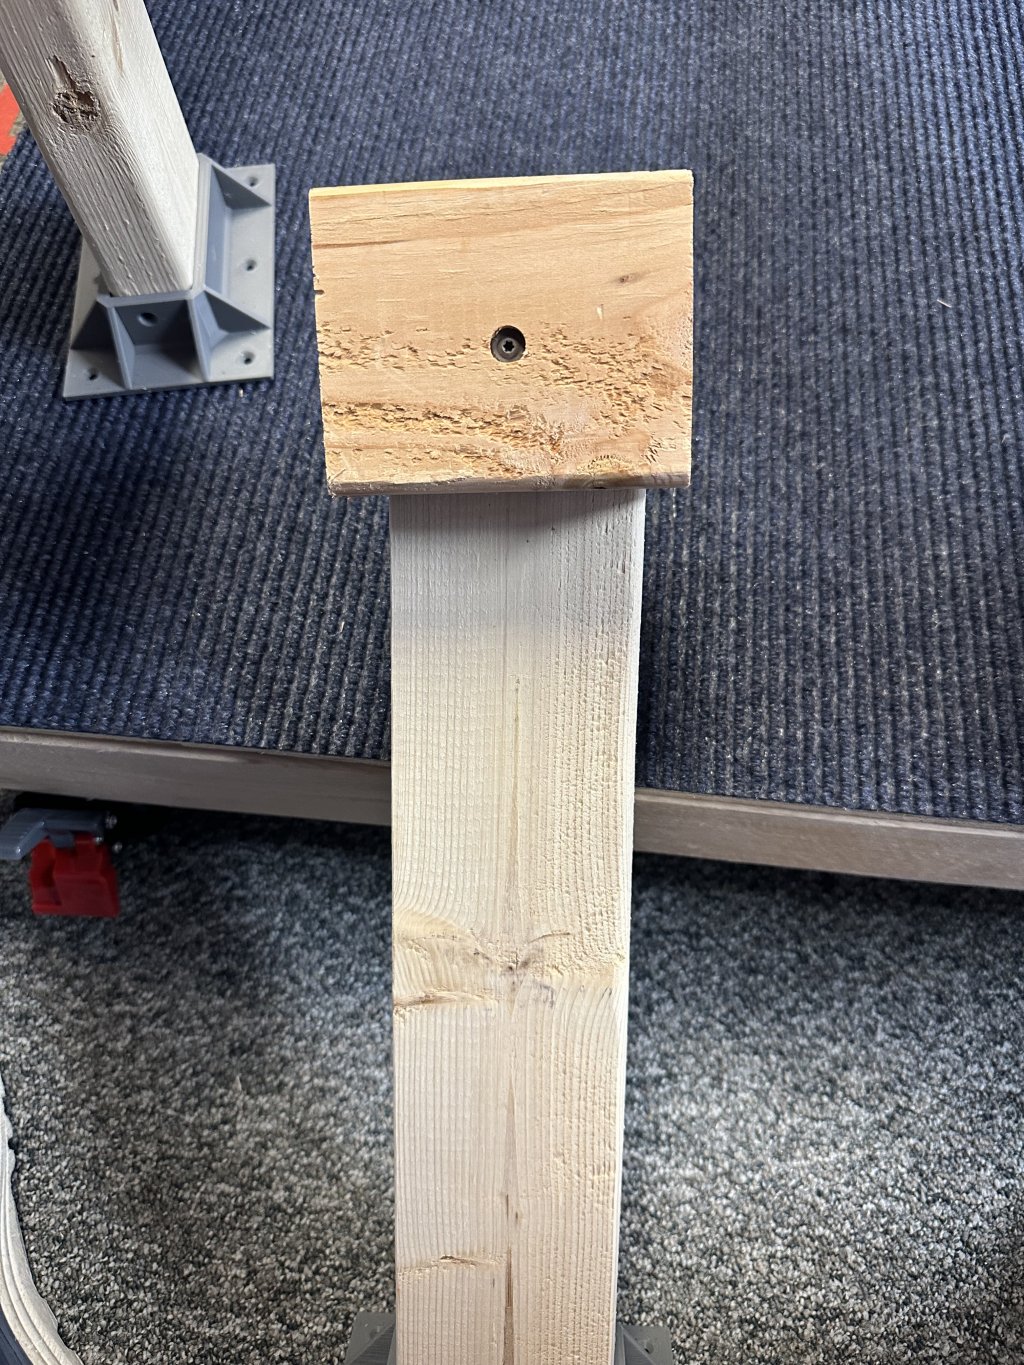
You will start to notice the curves don't sit flat, so we need to add a little support underneath. I've tried multiple different 3d printed bracket designs to mount the curves to, but nothing had worked better than a good ol chunk of wood. Screw it to your leg support so it can be rotated, then rest each curve piece on it. 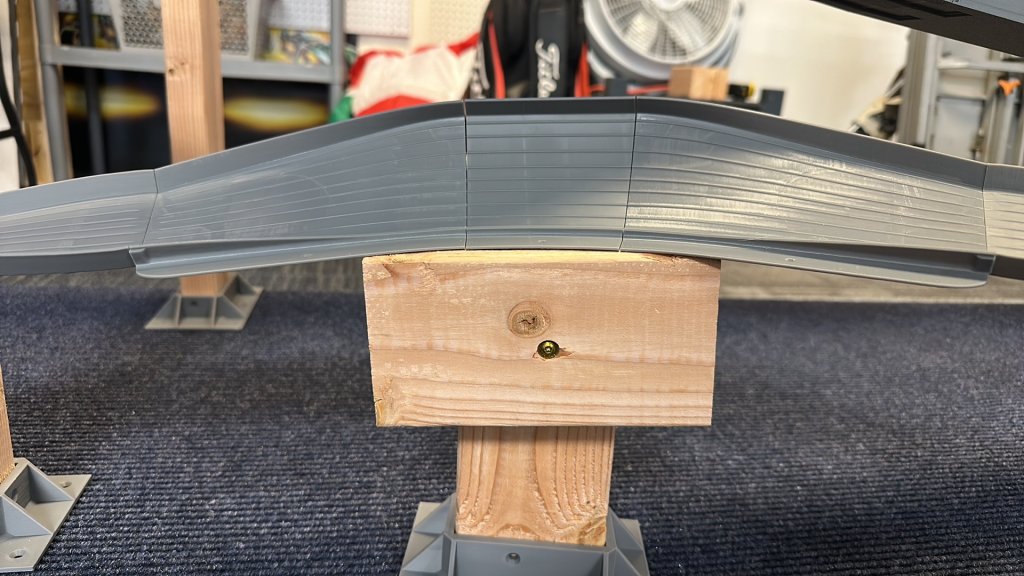
This will allow you to screw the curves down without bending them into unnatural positions which could cause further issues.
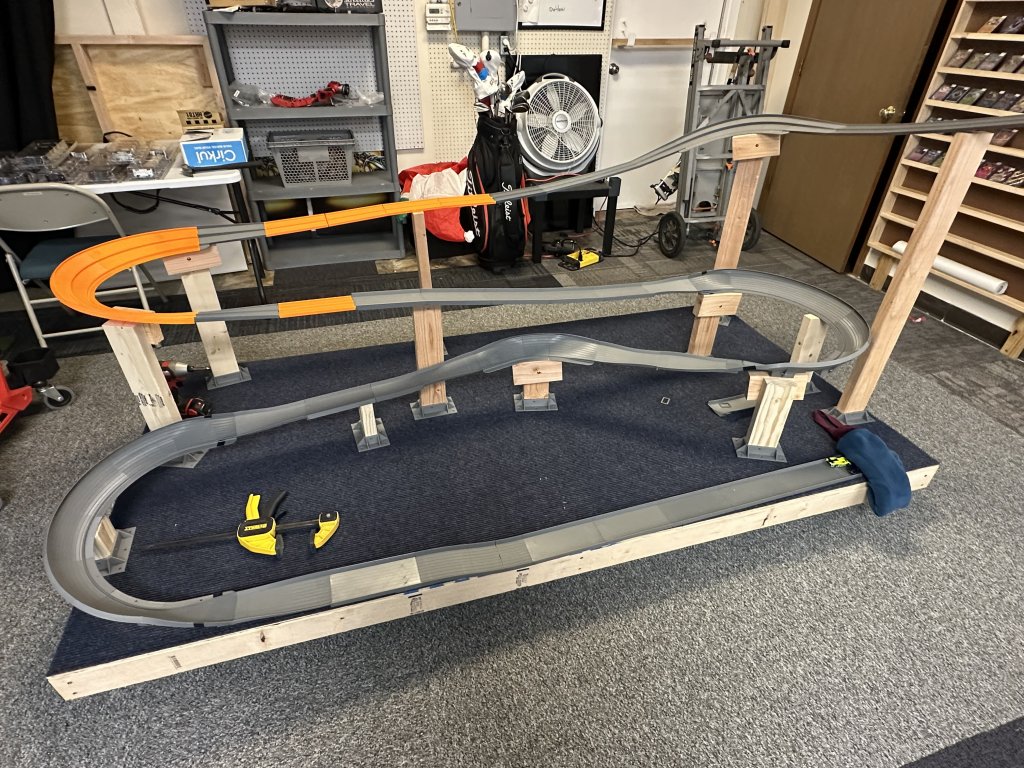
The track is now supported and functional. Congratulations! There is still some work to be done though. You can start running cars down and see if any adjustments need to be made. You may need to raise or lower certain sections depending on the cars speed. I will include all of my pillar measurements at the end of the build guide incase anyone is interested!

Step 3 - The Layout
This should really be the first thing you do when you are building a track, but for the purposes of this guide, it's step 3! Draw your layout. Get an idea of what you want your track to look like, then head over to slanmancustoms.com and find the parts!

While you're waiting for the parts to arrive, get your bases built and looking nice. The fun is about to begin!

Once your parts arrive, get them all assembled. Believe it or not, we are about 75% done already! Grab your plans and head over to the platform. Lay out all of your parts and make sure everything fits properly. Because we are building up, some overlap will be ok.