

Learning as you go ...

Yep, that is what I am doing. Learning as I go.
My first modified car, I ended up with plastic stubs that hold the car togther but I was expecting metal. That was a bit of a head scratcher as I figured out how was I supposed to screw it back together if it is a hollow piece of plastic? I ended up filling it with E6000 and after it dried I still put a screw in it. I then added a coating of E6000 to the bottom over the screw as well on a couple of key areas of the body to it would hold.
Second car I finished, I had a few issues, but I like that after I polished up the axles and put graphite on the wheels ends, it spun better than when I took it apart. Tightening it down with screws and E6000 again as it gave me a bit of trouble putting it back together.
Now I just finished my 3rd car. This would should have been easy, but I had issues. It is a dragster and weight is 35g; so it was just about polishing the axles and put some graphite in the wheels. Polishing the wheels? Man there were a few times where I was holding the wheels/axle in my hand, and that dremel grabbed onto it and flipped the axle with wheels across the table and onto the floor. This happened a few times and one time I really couldn't find where they landed. I was concerned as I didn't have any other dragster cars with small tires to replace with as the car I am sending is from 1995 with small cornered wheels on it. I became a bit more careful as I finished polishing.
Wheels though don't seem to spin well, but they are as good as I can get them. This car is also the first one I did not glue the axles back in. The chassis had a secure enough top/bottom area to let them free ride. When I took out the axles, I tried to cut off as little as I could so that I can get them aligned back in easier where they go to hold. So this is my first car I am letting the axles be free since it had this nice groove in there already and a tight chassis to hold down that will not let the axle escape. I will race it down my test track a few more times though to see if the wheels start to move and race it against some of my stable of test cars.
But my main issue with this last car, the dragster, is I did not drill far enough. When I went to put the screw in, I could not tighten it all the way down. The little jewelers type screwdrivers just would not apply enough pressure for it to turn and would try to strip out of place; no good. So I went into one of MamaGnomes roller toolboxes and got me a little screwdriver with a handle, and finally able to turn that screw the extra couple of turns it needed. Car now sealed up!
Things I have learned? You may have a hollow post, or you may have a solid post, be prepared for either and how you are going to put it back together. If you are going to use screws, drill out and test the screws now so you are ready later to just insert. Cut off only what you need to get the axles out. If there are 3 prongs holding it in place and it can come out by only cutting 1 or only small portions of the prongs, do it. The existing prong holders for the axles may be useful left where they are. When polishing axles even on low speed, go easy as you approach so you don't get kick back and watch your axles and wheels go flying off into the distance. When you put the car back together, try to remember how it came apart. I spent extra time not able to fit a stupid piece because I didn't remember that part A goes in befor part B.
I am sure I will find more things that I have not run into yet, and the above stuff that I have ran into may change with each car I take apart. But no matter how I survive these little episodes and frustrations at times, it is nice to see the car finished and ready for the track. Mission Accomplished!
It was just this morning I was telling MamaGnome that I may not win a race this year as I learn, but next year, I hope to get a win sometime in 2027 as I build up knowledge and skill. After all, I have only been doing this for less than 6 months, and I am having a blast!
Discussion

To easily polish axles order some forceps from Amazon
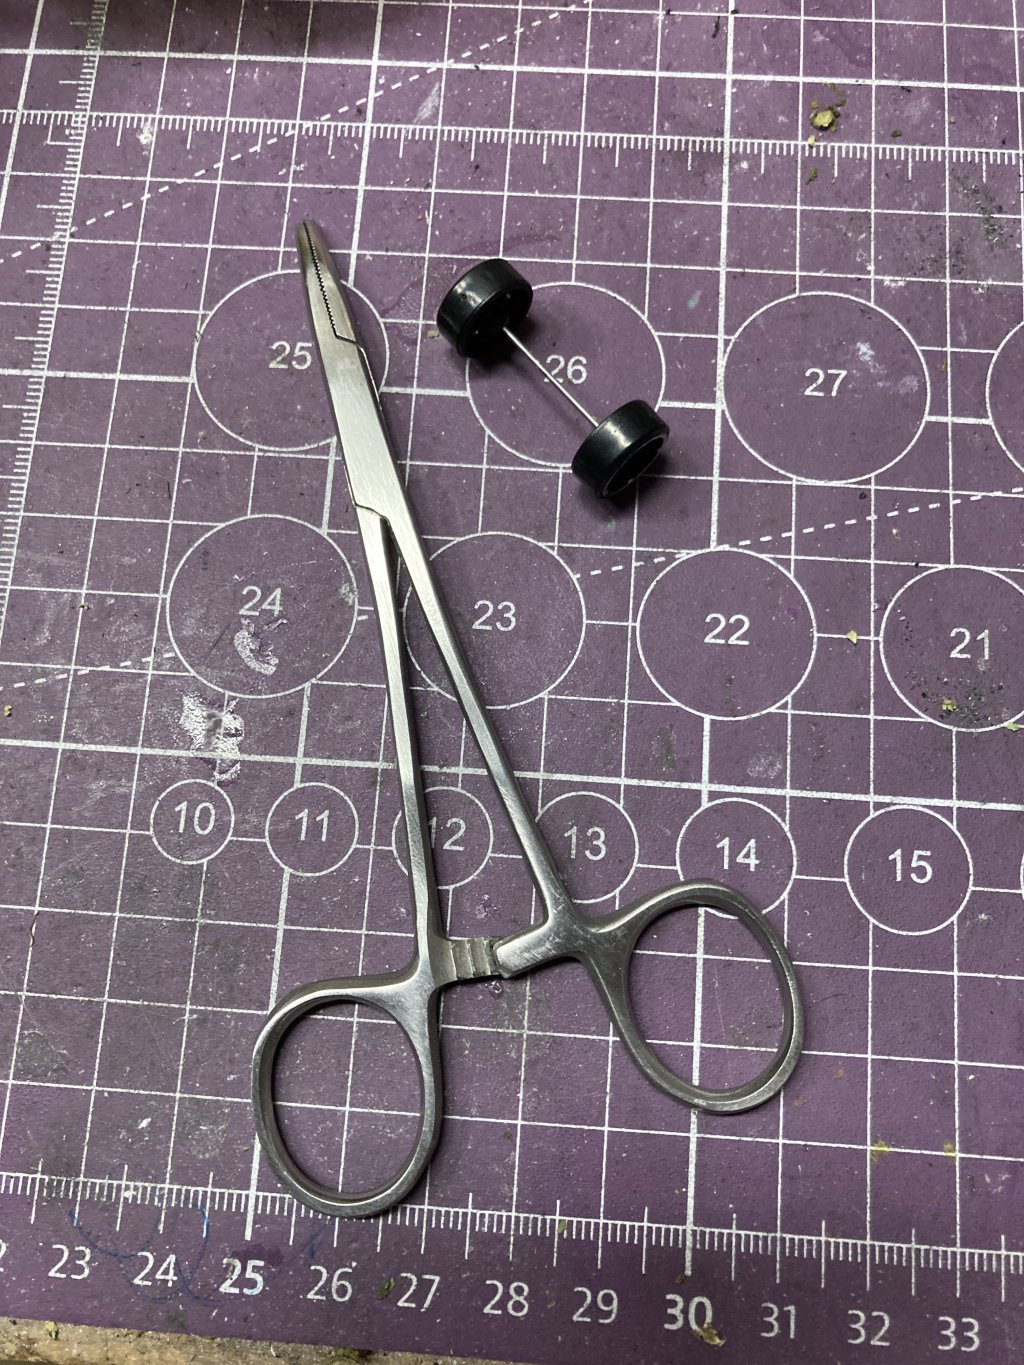
Use like this
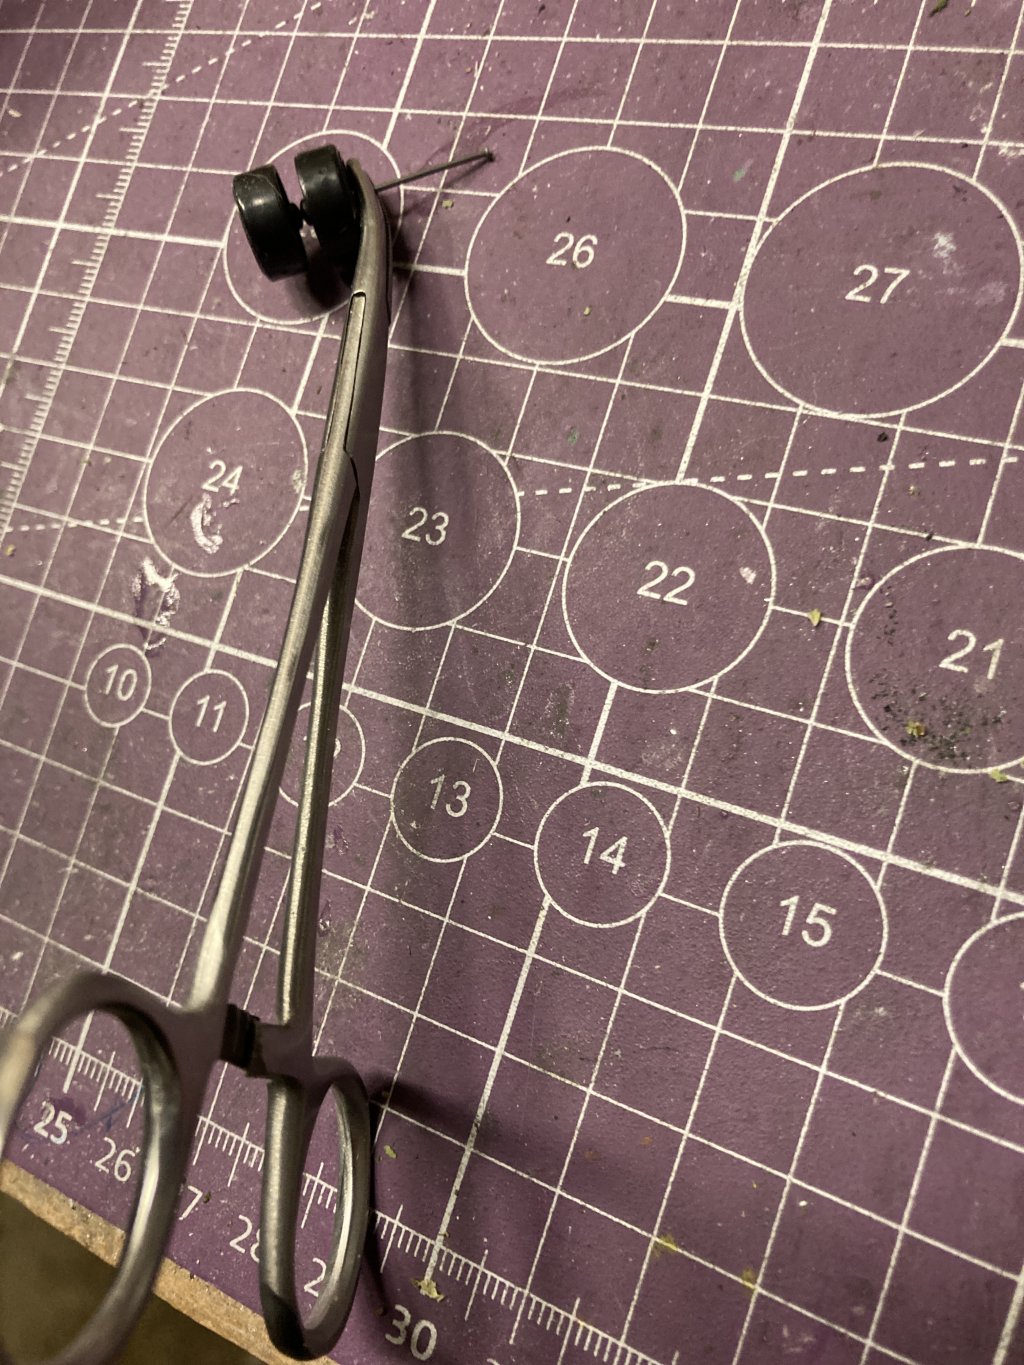
- Oohhh good idea! — Dutch_Clutch_Racing
- I will do that. Surely anything is better than trying to use my fingers to hold them. — RacerGnome
- Please notice that these forceps are slightly curved at the tip. I have found that this works better than the standard straight tip version. — AbbyNormal

Great to read about your learnings...it's half the fun!
And just because you mentioned tapping and screws, here's an article about such things. TLDR, you don't need to tap your posts at all, just drill a wee hole and then screw in your screw...the metal is soft enough that it just works.
www.redlinederby.com/topic/drillingtapping-posts-for-screws/3734
- I totally agree here I have never tapped a screw for a hot wheels installation. The one thing I will say is whatever screw you choose to use get a screwdriver that fits it perfectly. The last thing you want to try to do is create some threads with a wobbly connection to the screw. — AbbyNormal
I'm glad you remember the most important factor, "Have Fun"! It's an everlearning pursuit, and the openess of the Diecast Community make it a pleasure, win or loose.